Let’s admit it, we all feel better with a tan, but the secret to a flawless, streak-free finish is all in the prep. Let’s get right to it, so you can wake up with a dazzling sunkissed glow.
1. Exfoliate
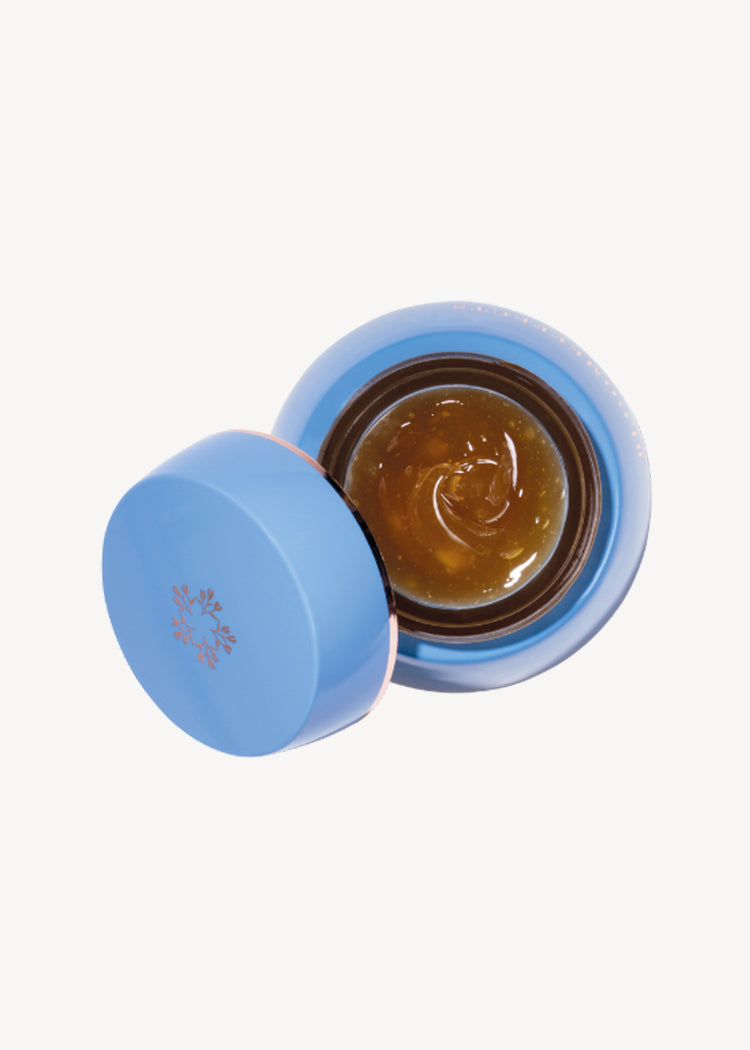
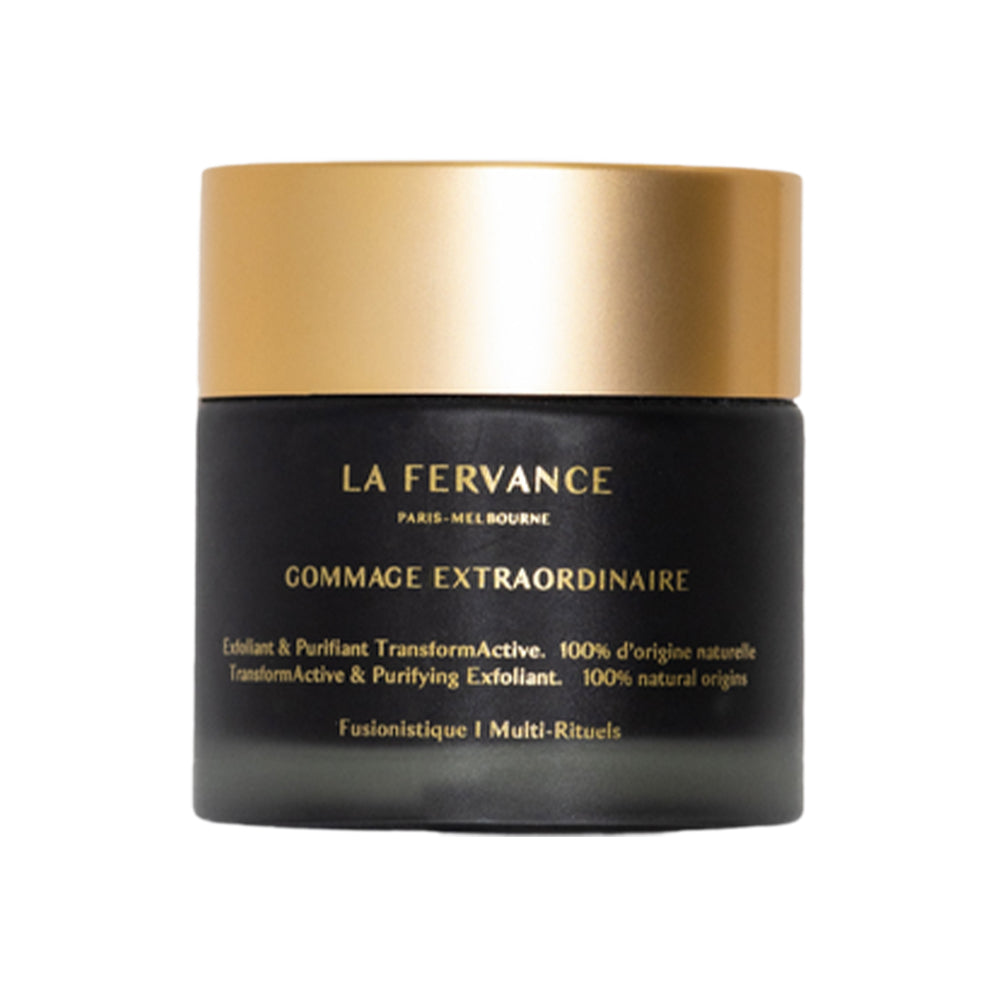
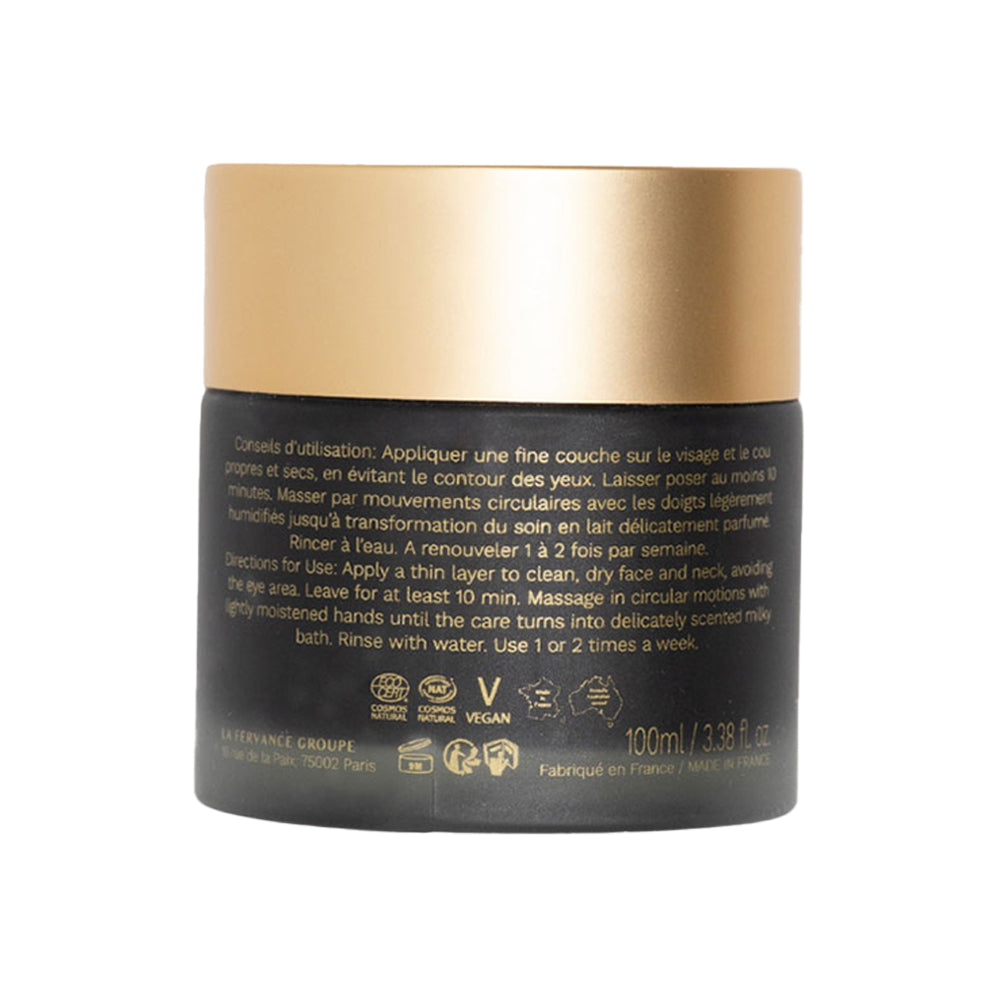
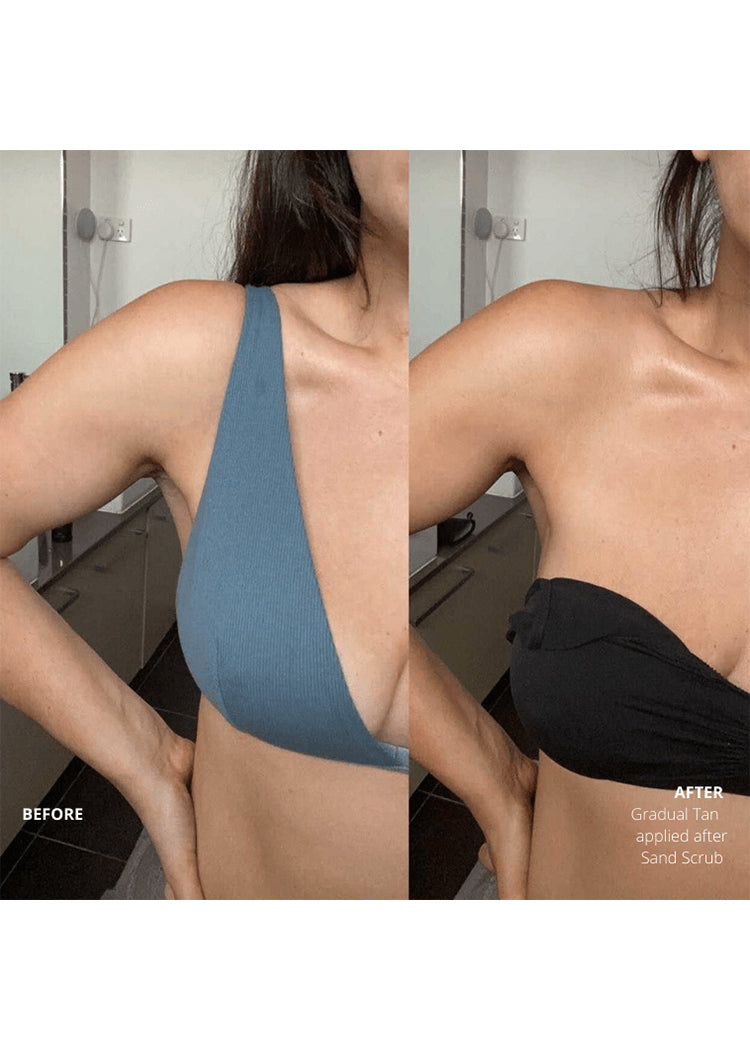
Just like with most things in life, it pays (in glowing goddess dividends) to get the foundation right. In this case, our foundation is smooth, soft, and clean skin. To achieve a smooth, soft base to apply your fake tan to, you’ll need to remove any remnants of old fake tan and buff away dead skin cells that can cause roughness and dry patches with a nourishing exfoliation. (A layer of rough, dead skin can build up over a few days since our skin is constantly regenerating and naturally sheds, which is why exfoliating is an important part of your routine.)
Amp up the self-care and run yourself a blissful bath where you can take your time scrubbing away, then sit back and enjoy some precious me-time! An indulgent soak will also help to remove any remnants of fake tan, dirt, and impurities from your day thus far. Pay particular attention to the folds and creases where fake tan can clog and stick – that’s your elbows, knees, hands, feet, and ankles.
2. Hair Removal
Wondering if you should shave before tanning? Whatever your method of hair removal, it’s always best to be silky smooth before applying fake tan.
Plus, if you apply, then decide you want to remove your hair, your hair removal method could also remove your fake tan, leaving you with pale patches of skin. It's best to shave at least 24 hours before applying fake tan so you can ensure your hair follicles have closed back up – it stops that speckled look.
3. Clean skin
It’s best to have ultra-clean skin before applying fake tan, so having a shower or bath before application is a great idea. Dirt, old tan, perfume, or even deodorant could cause green patches and streaks we’d rather avoid.
Feeling brave? Opt for a cold shower before tanning. This encourages all the pores on your skin to close and can help your tan to look more seamless. (Plus, cold water therapy has a heap of health benefits including strengthening your immune system, boosting energy, and enhancing your mood.)
4. Moisturize
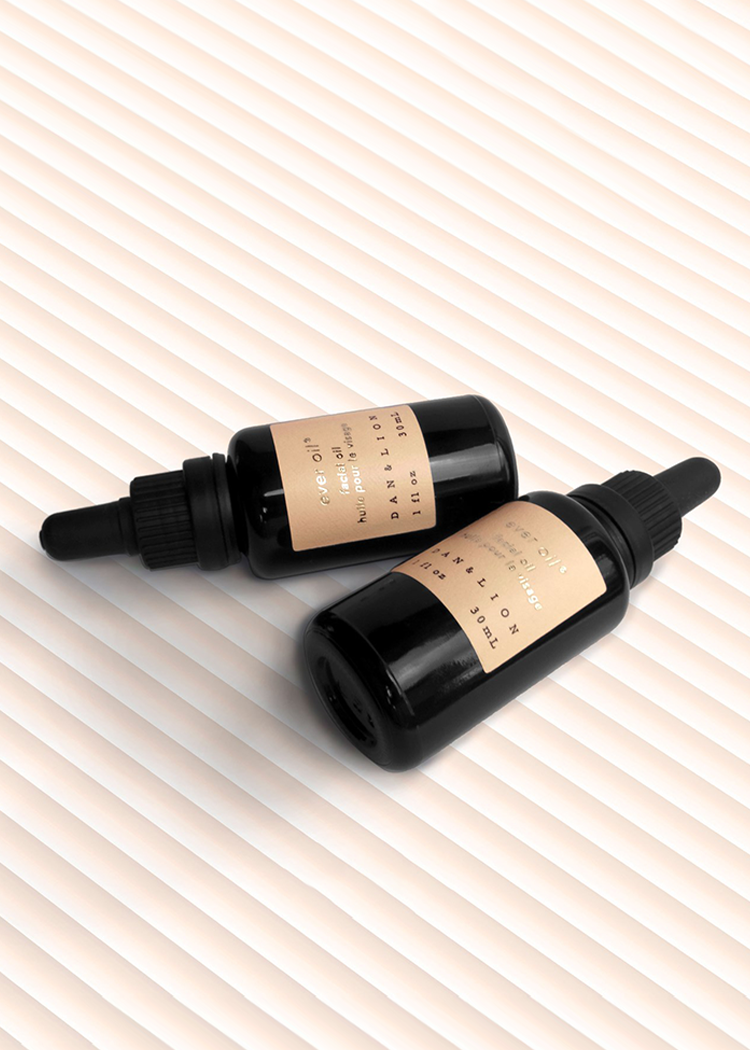
Seal in hydration and get silky soft skin with an enriching body moisturizer or body oil, again, paying particular attention to areas prone to dryness like elbows, knees, feet, hands, and ankles. Slather on in abundance, then wait for your products to absorb fully and dry completely before applying your fake tan. This will stop your fake tan from sticking to the wet areas, and causing patchiness.
5. Choose the right fake tan for you
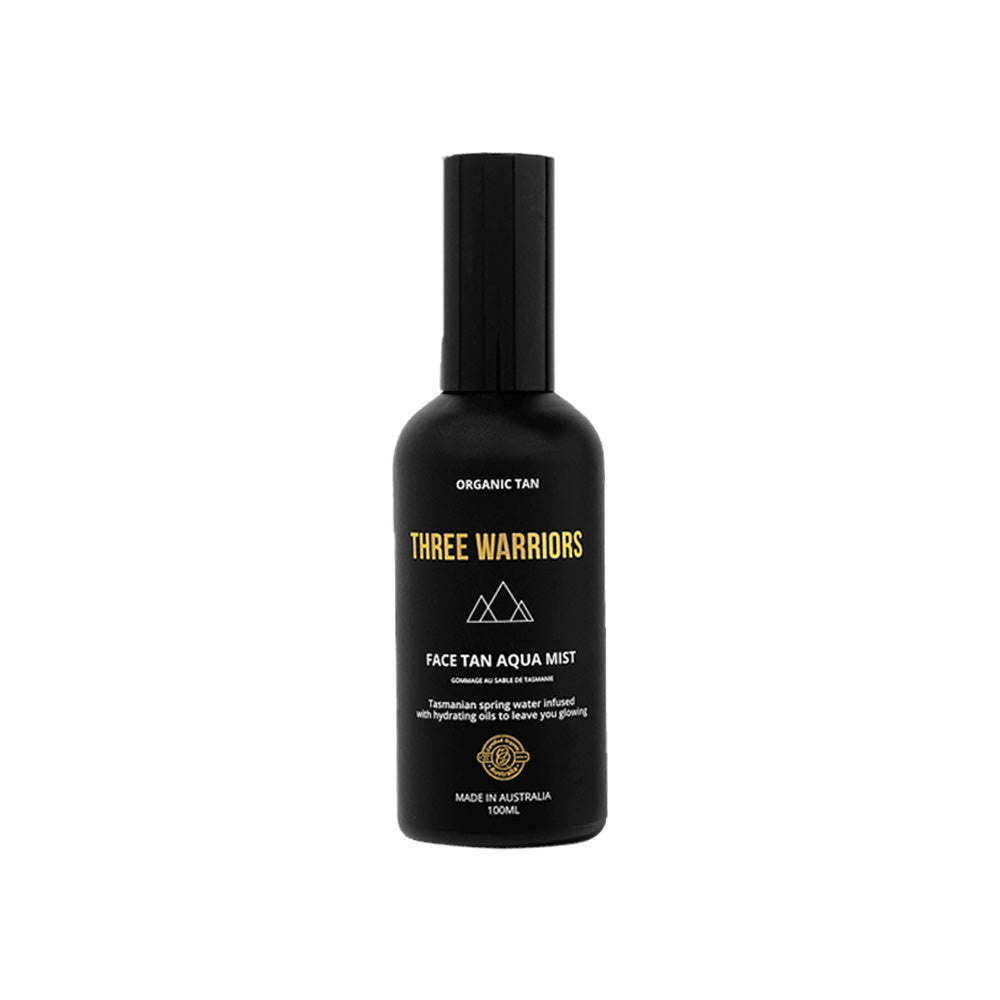
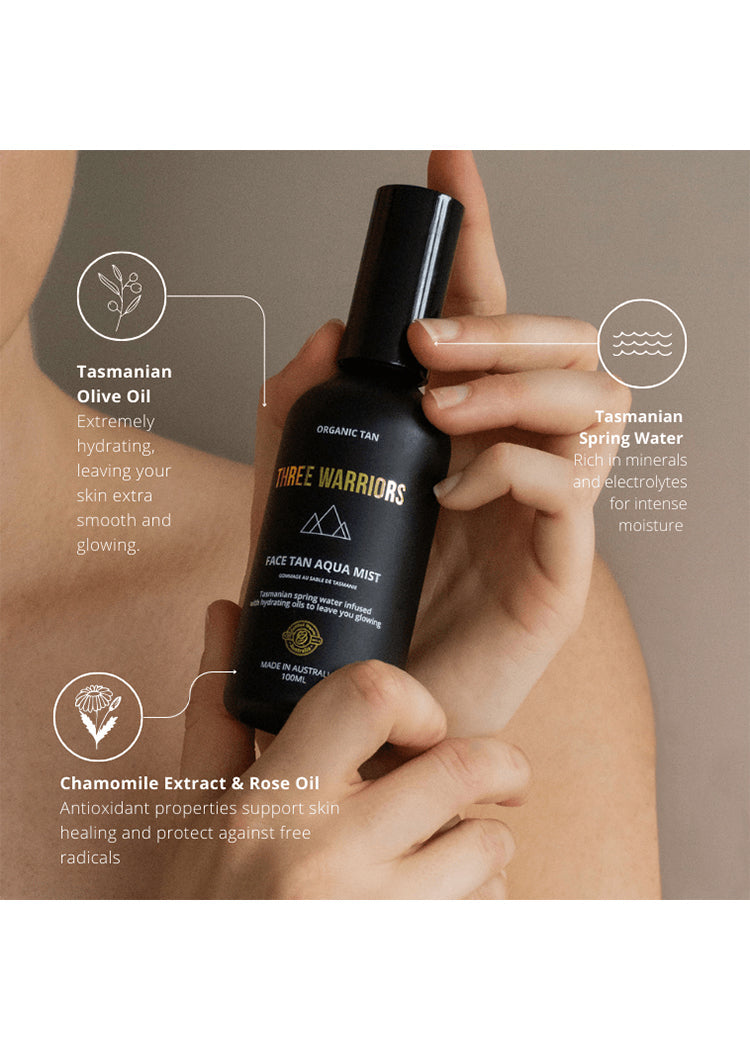
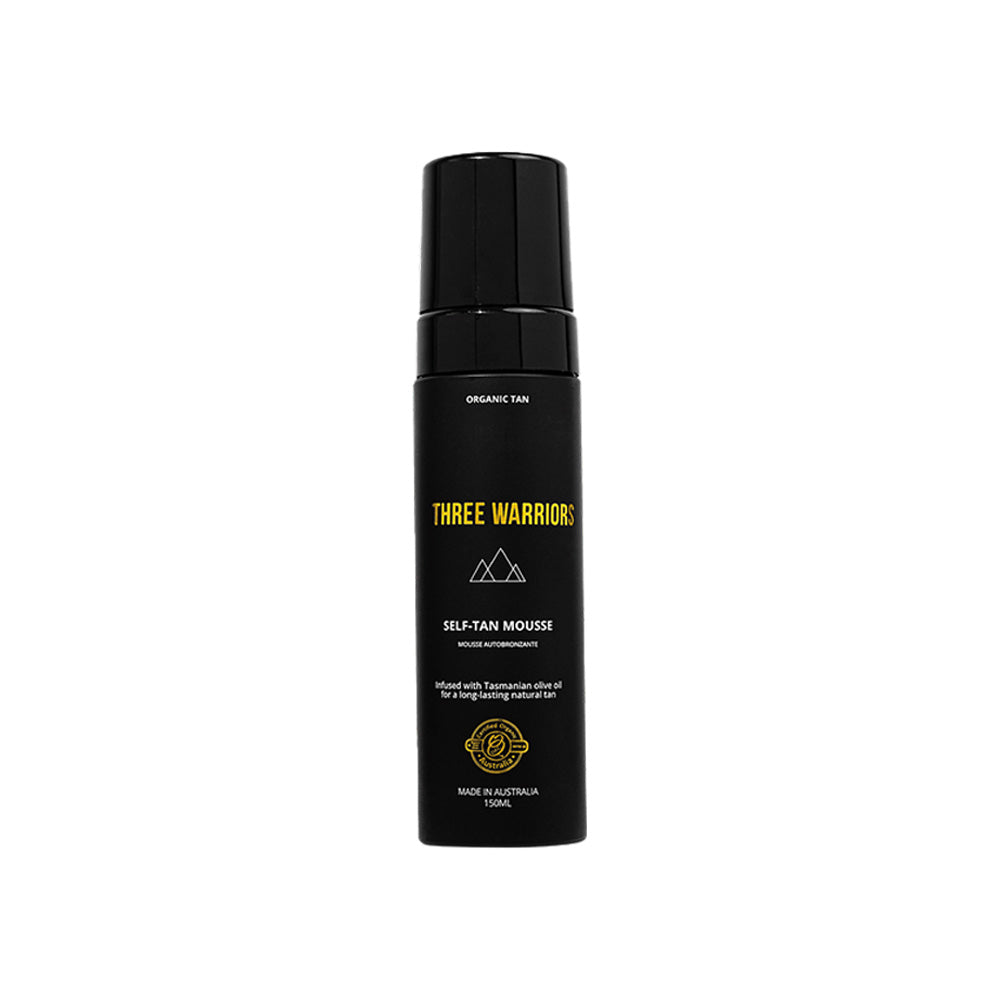
Everyone is different when it comes to their preferred tanning product. Some bronzed babes prefer a foamy mousse texture, while others prefer a lotion, and some opt for mists and sprays.
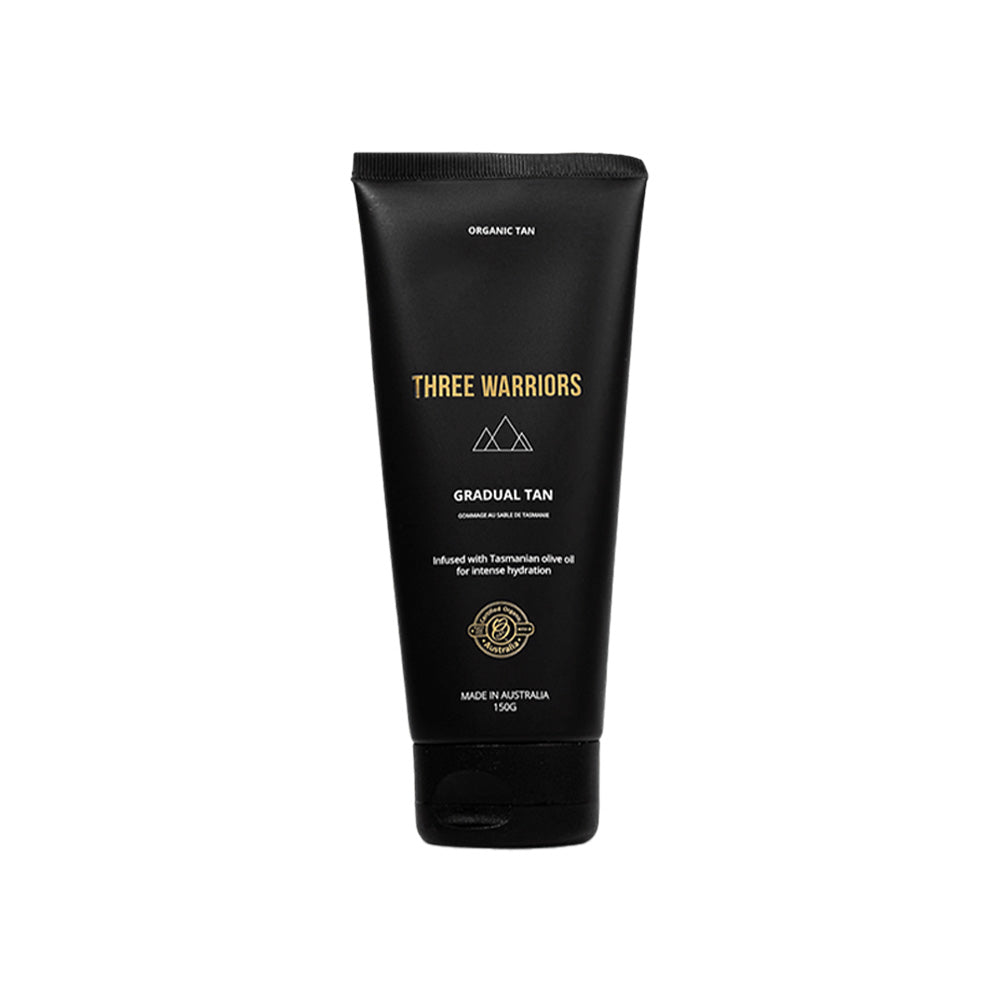
As well as texture, you can also choose your fake tan product according to development times. If you’ve got time to kill, why not leave a developing fake tan overnight to wake up bronzed, and rinse away any residue in your morning shower?
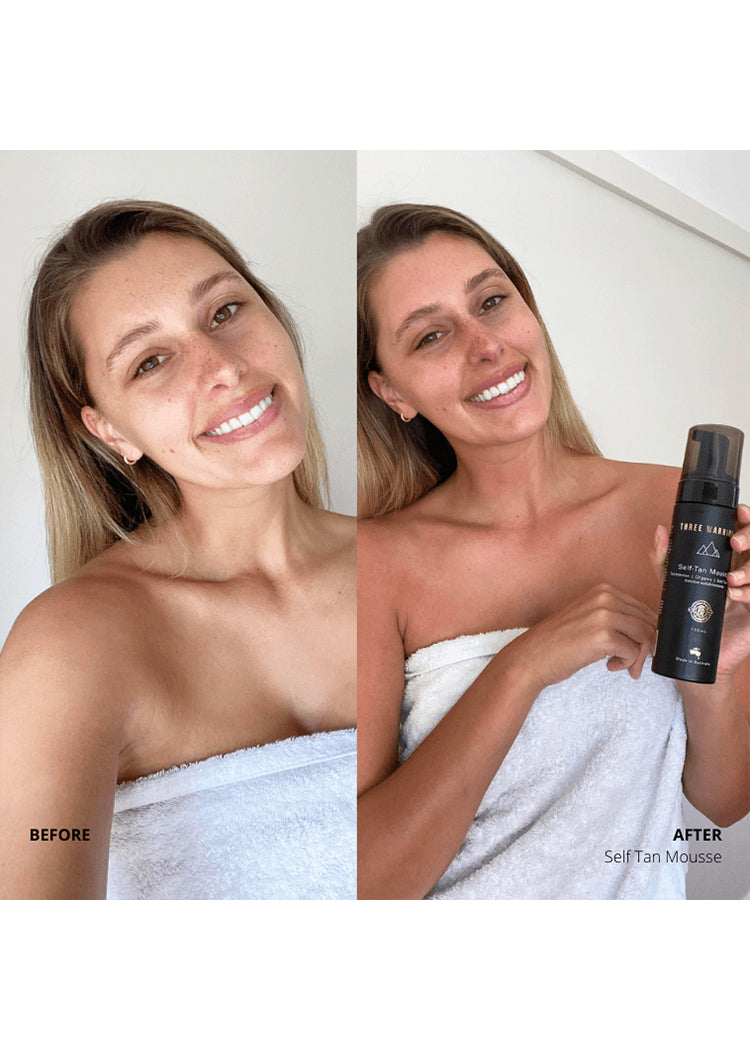
With some fake tan products, there’s also color or hue to consider. If you’re fair-skinned, the deepest hue might look too dark and unnatural on you, so opt for a lighter tone. For last-minute events, choose an instant tan for rapid results.
6. Use a tanning mitt
To get an even coverage for the most natural-looking tan, a super-soft tanning mitt will work wonders and protect your hands from getting messy too. We want to avoid orange-hued Oompa Loompa hands at all costs!
Start with a clean, dry tanning mitt. Use circular sweeping motions to buff your fake tan in, and blend, blend, blend until you can’t blend anymore! This step is super important to avoid streaking. (Streaking can also be caused by not applying enough product, so apply liberally, but buff in well!)
For fake tan novices, stand in front of a mirror and apply it all over. That way you'll be able to see if you’ve missed anywhere. To apply fake tan on your body, start from your legs and work upwards. Don’t forget your face, feet, and hands too!
Then, once you’ve applied all over, rinse your tanning mitt. To avoid transferring any bacteria from the tanning mitt and risking an untimely breakout, it’s best to apply fake tan to your face first if you’re using the same tanning mitt.
7. Don’t forget your face!
Some fake tan can be too harsh for sensitive facial skin, so check the label before you apply. Fake tan drops and spray can be buffed in with your hands or a makeup brush for your face but remember to wash both afterward with soap, cleanser, or makeup brush cleaner.
You could also add self-tanning drops to your daily moisturizer. Sweep all over massaging in upward motions right down your neck to your décolleté for a seamless transition. And if you don’t want to tan your face, you may want to alter your foundation shade to match the rest of your body, or just apply extra bronzer!
When your body is completely dry, get dressed in dark-colored, loose clothing in case of any transfer and go about your day, or for developing fake tan, jump into bed. Emerge as a golden, glowing goddess with a bountiful boost in confidence.
8. Prolong your tan
Your tan will likely last well for a couple of days but can last up to a week. To prolong your natural-looking tan, have showers instead of baths, and moisturize well daily, especially in those dry areas where it can stick around (elbows, knees, feet, and hands).
Your best bronzed-girl life is within touching distance – glow get it!

